An Easy Beginner Gua Sha Facial Technique With 4 Easy Steps
Much like jade rollers, gua sha tools are on the rise in the world of skincare. Although this self-care method may seem like a new trend popularized by self-care during quarantine, gua sha actually originates from traditional Chinese medicine, dating thousands of years ago. Gua sha is known as 刮痧 in Chinese, and the literal translation of the word is “scraping toxin.” When used on the face, gua sha essentially has a firming, lifting and soothing effect, while promoting lymphatic drainage when pressure is applied to the right points. This helps with depuffing the face in the morning or before applying makeup.
Available here via Amazon Prime.
Although it may seem daunting at first, gua sha is probably one of the easiest ways to perform a safe and simple at-home facial. You can get rid of wrinkles without expensive botox or fillers! All you need to do is to gently smooth your face and neck using a gua sha tool of your choice. Read on for some beginner tips on how to enjoy a gua sha facial at home.
FREEZE YOUR GUA SHA FOR MORNING DEPUFFING
Place your gua sha blade in the freezer for a cooling effect. While gua sha tools are usually made of naturally cool materials like jade, for an extra soothing and depuffing effect, leave your massager in the freezer or refrigerator for a few minutes before you begin your at-home facial. The cold jade feels amazing on your skin and reduces puffiness and undereye circles (it’s really great for hangovers). Coolio has the cutest skincare fridges that you can store your products in. Mine’s on sale right now for $49.99 linked below!
Available via Wayfair here.
CLEAN YOUR SKINCARE TOOLS
Cleansing and cleaning your tools is one of the most important steps in any type of beauty routine. Since many gua sha blades are made of materials that are semi-porous, leaving them unwashed may cause bacterial growth. I know I’m guilty of reusing my makeup brushes multiple times before I clean them so make sure to get into the habit of practicing a good routin with your gua sha. Wash your face, hands, and massager thoroughly with a gentle cleanser before you start your skincare routine and rinse with warm water and soap post massage.
Available here.
FACIAL OIL & MOISTURIZER
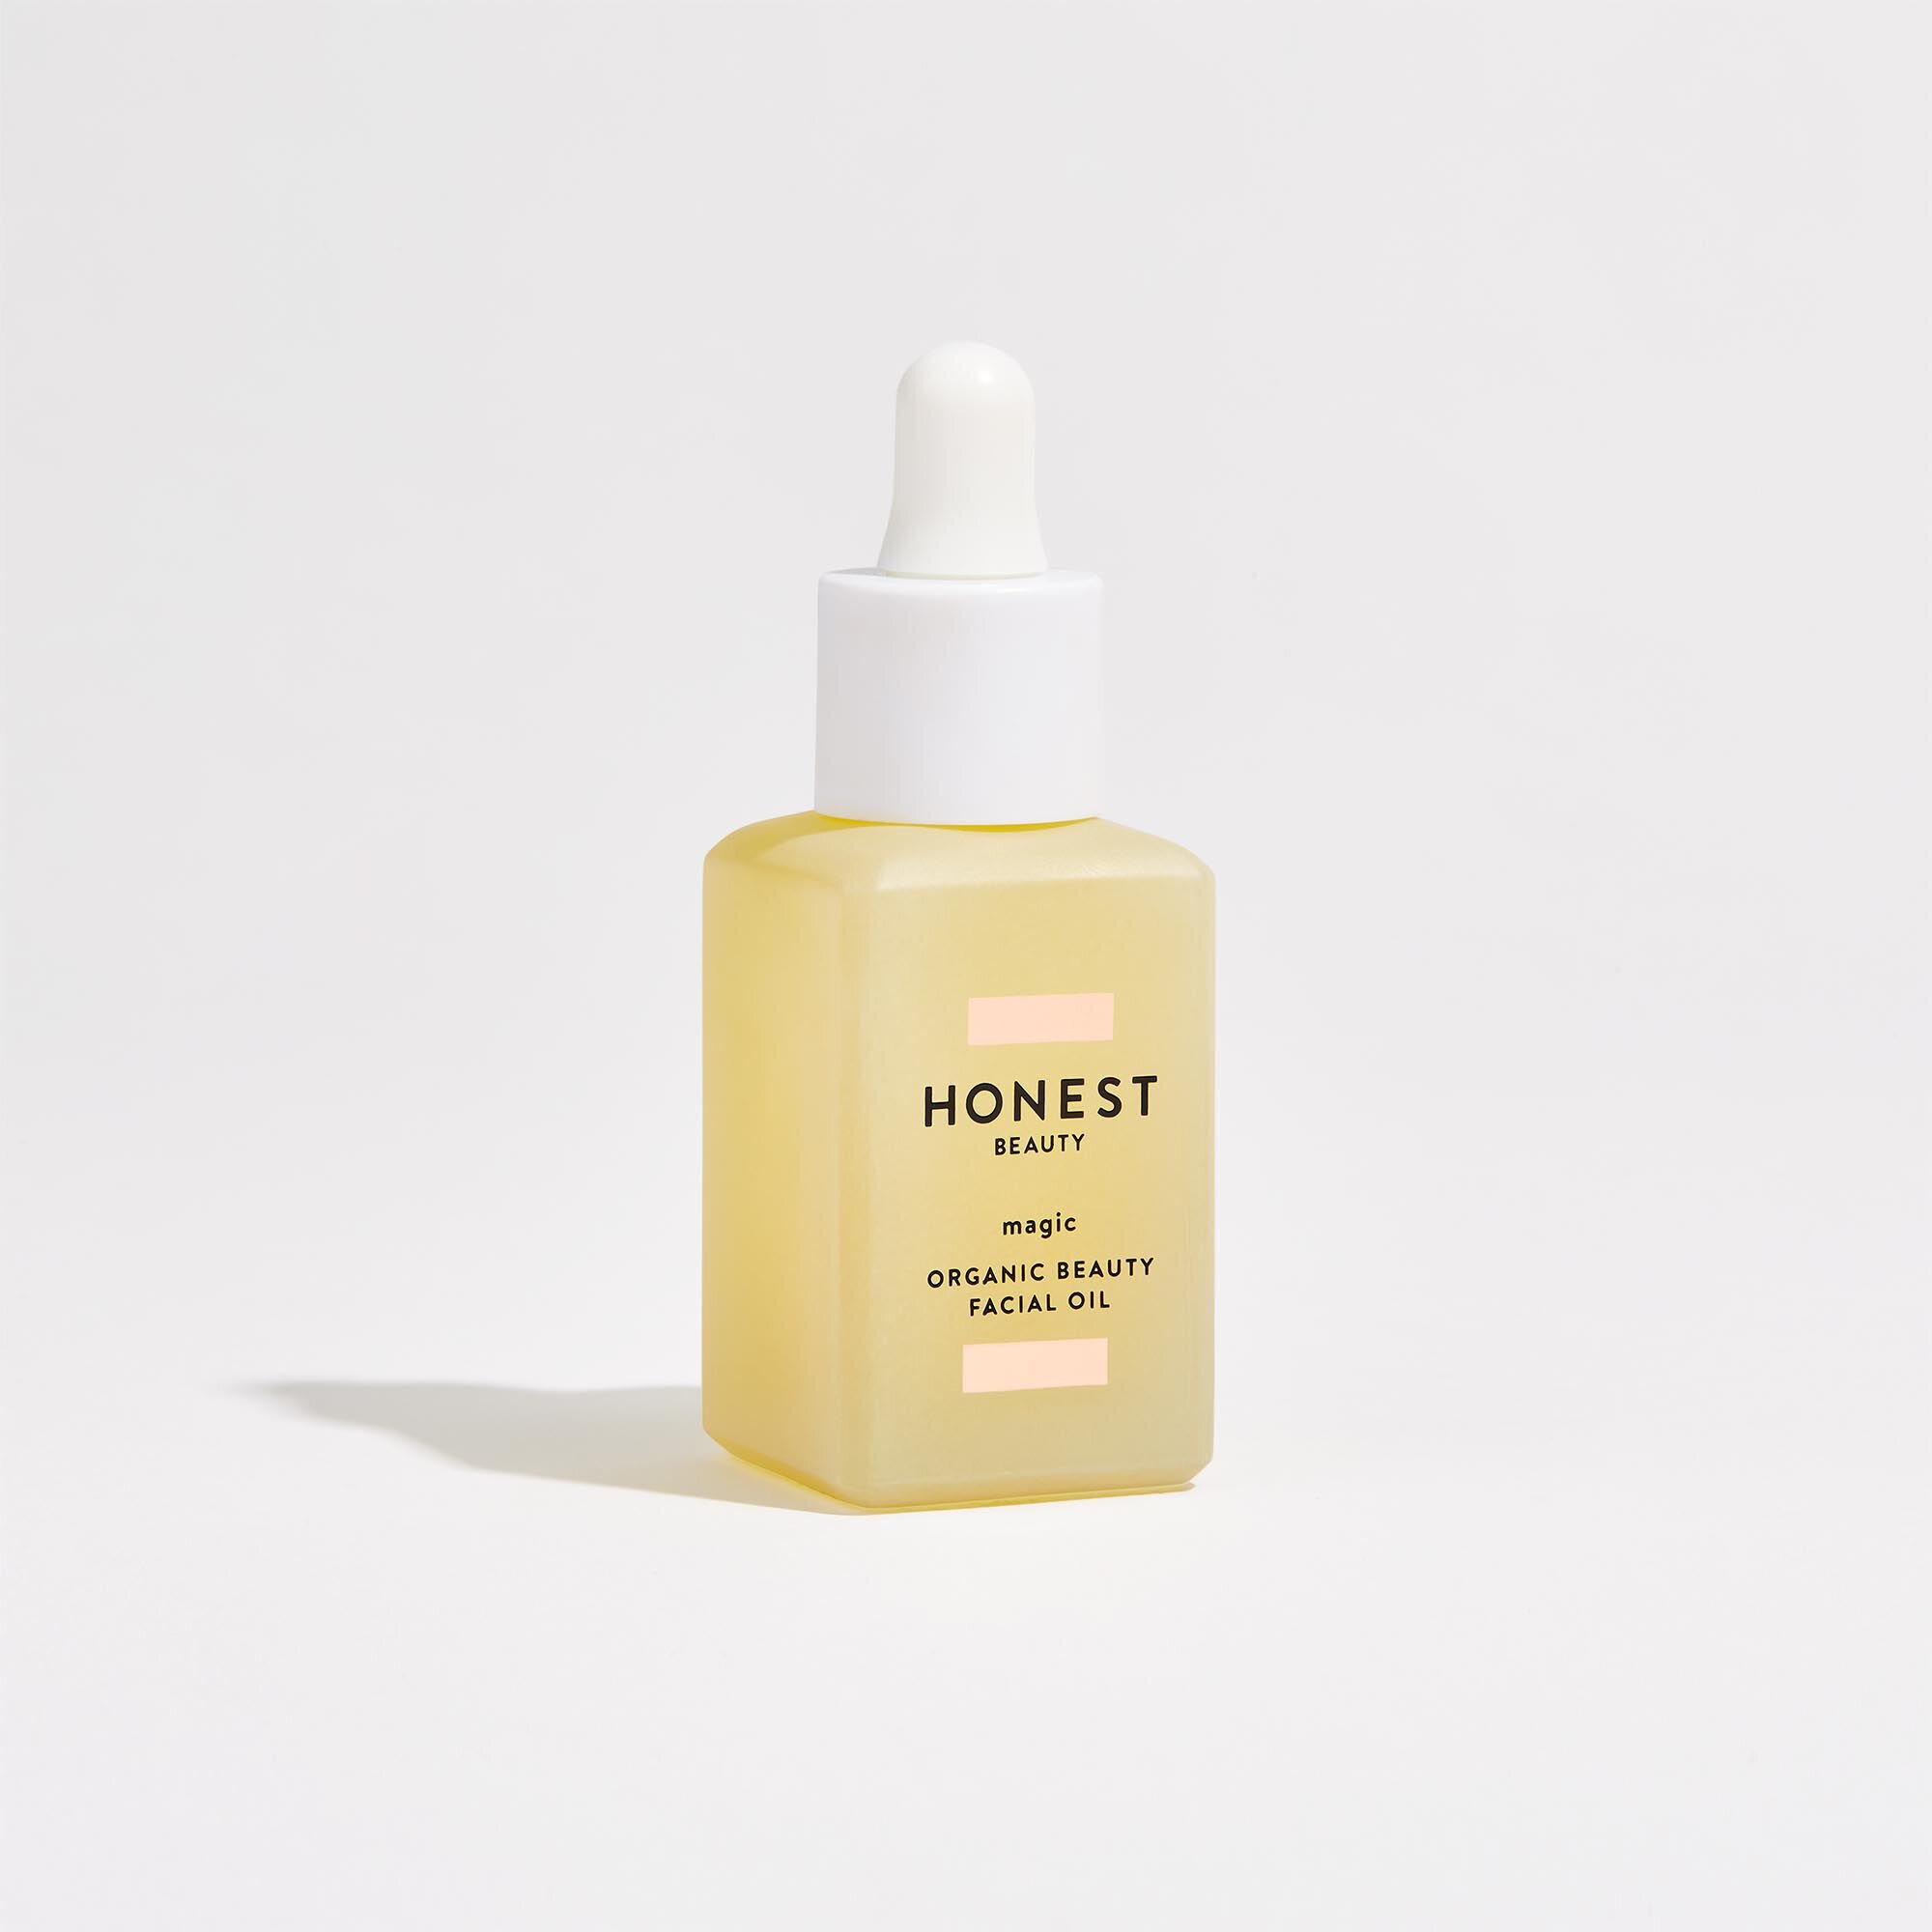
Apply face oil or a rich cream before us. Any type of face oil, serum or cream with a rich consistency will allow the gua sha tool to glide over the skin more easily without damaging or pulling it. Apply just enough so that the massage technique will be smoother, but not to a point where your complexion is covered in thick, oily formula.
Available here via Honest Beauty.
UPWARDS & OUTWARDS
If you’re lost, just remember to work in an outwards, upwards motion. While there are various ways to massage your face using different parts of a gua sha tool, if you ever get confused, the simple trick to remember is to always work your way outwards and upwards. Doing this along your brows, cheekbones and jawline will give the skin a lifting effect. You never want to pull your skin in a downward motion because that can create sagginess and wrinkles - which we want to avoid! I’ve linked my 6 Minute Gua Sha for Wrinkles tutorial below, which is a great place for beginners to start learning simple techniques.


